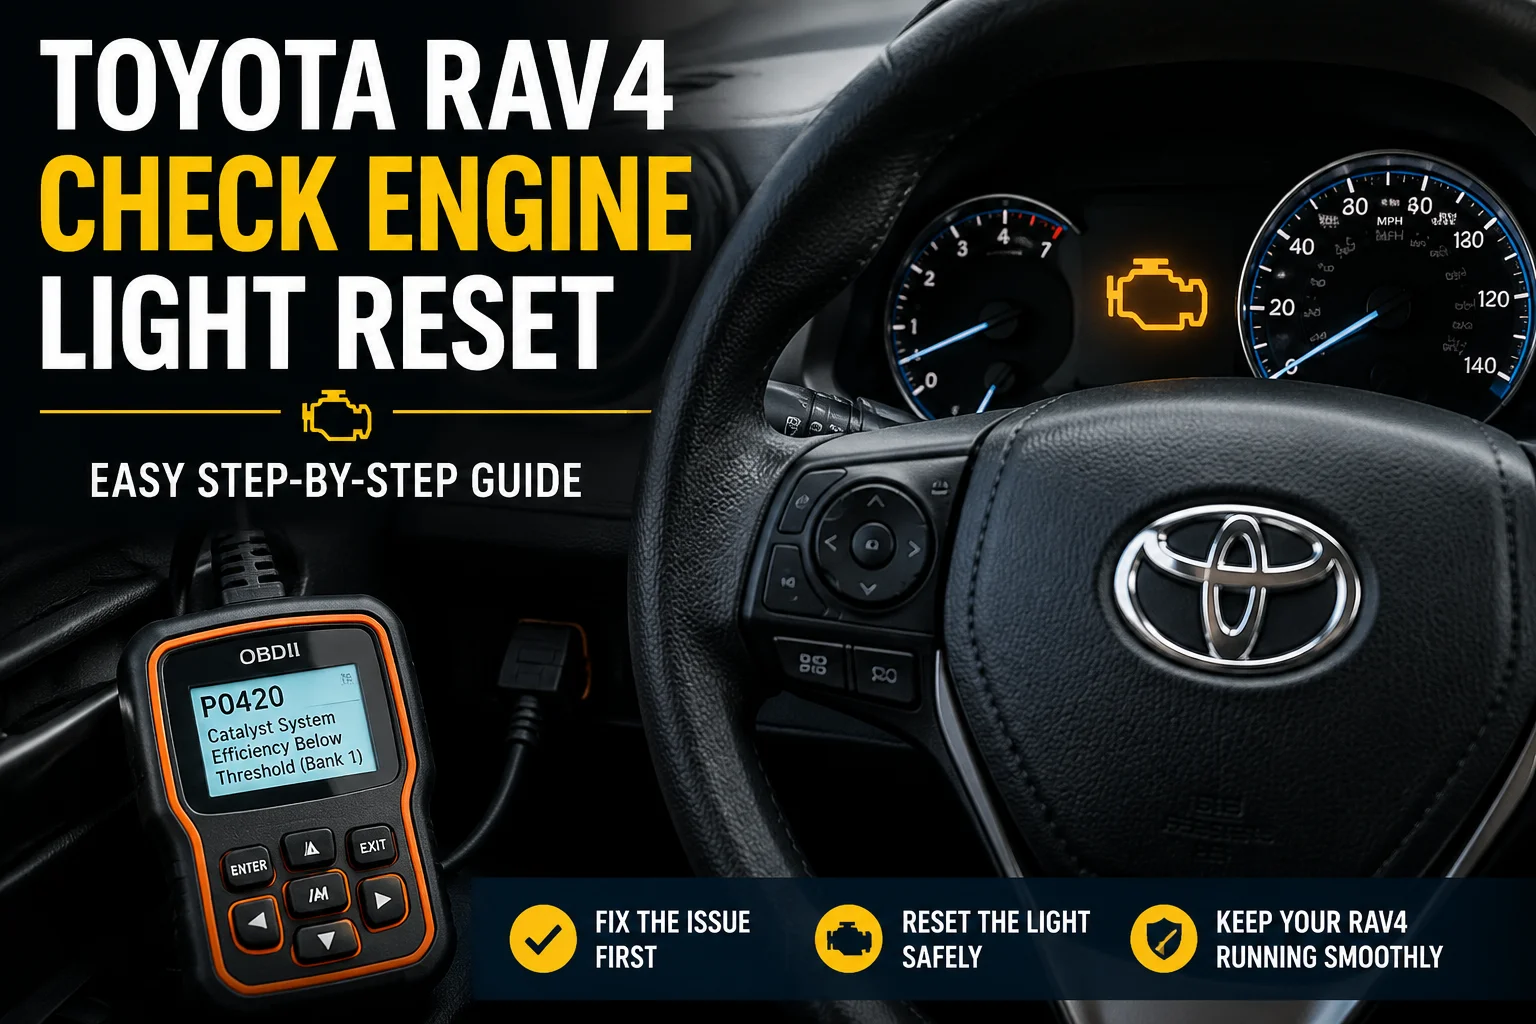
The Toyota RAV4 Check Engine Light Reset process is simple, but it’s important to understand why the light came on before attempting a reset. The check engine light is part of your vehicle’s onboard diagnostics (OBD-II) system and can indicate anything from a loose gas cap to a more serious engine or emissions problem.
Many Toyota RAV4 owners search for a Toyota RAV4 Check Engine Light Reset after replacing a faulty part, tightening the fuel cap, or completing repairs. While resetting the light can clear the warning, it should only be done after fixing the underlying issue. Otherwise, the light is likely to return.
In this guide, you’ll learn when you should reset the check engine light, the safest reset methods for different Toyota RAV4 model years, and what to do if the warning light comes back after the reset.
Why Is the Check Engine Light On?
The check engine light is a warning from your Toyota RAV4’s onboard diagnostics (OBD-II) system. It turns on when the vehicle detects a problem that could affect engine performance, fuel efficiency, or emissions. Sometimes the issue is minor, while other times it requires immediate attention.
Common reasons why the check engine light comes on include:
- Loose or damaged fuel cap
- Faulty oxygen (O2) sensor
- Worn spark plugs or ignition coils
- Failing mass airflow (MAF) sensor
- Catalytic converter problems
- EVAP system leaks
- Engine misfires
Important: A Toyota RAV4 Check Engine Light Reset should only be performed after diagnosing and repairing the actual problem. Resetting the light without fixing the fault may cause it to return within a short time.
How to Reset the Check Engine Light
If you’ve repaired the problem causing the warning, you can perform a Toyota RAV4 Check Engine Light Reset using one of the methods below.
Method 1: Use an OBD-II Scanner (Recommended)
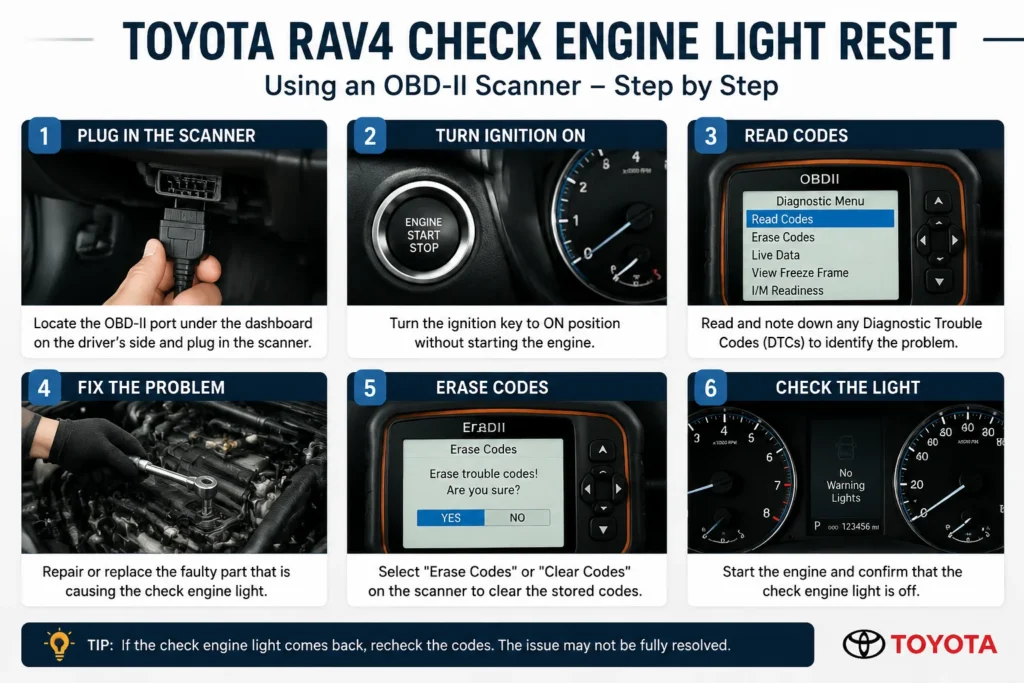
An OBD-II scanner is the safest and most reliable way to clear the check engine light.
- Park the vehicle and turn the engine off.
- Plug the OBD-II scanner into the diagnostic port under the dashboard.
- Turn the ignition to ON without starting the engine.
- Read and save any diagnostic trouble codes (DTCs).
- After completing the necessary repairs, select Clear Codes or Erase Codes on the scanner.
- Start the engine and confirm that the check engine light is off.
Tip: If the light returns after clearing the codes, the underlying problem has not been fully resolved.
Method 2: Drive the Vehicle
In some cases, the check engine light turns off automatically after the issue has been fixed. After several normal driving cycles, the vehicle’s computer may clear the warning without any manual reset.
Method 3: Disconnect the Battery (Not Recommended)
Some owners disconnect the negative battery terminal for about 10–15 minutes to reset the system. However, this method may erase saved settings such as the clock, radio presets, and other vehicle memory. Use this method only if you don’t have access to an OBD-II scanner.
When Not to Reset the Check Engine Light
Avoid resetting the check engine light before identifying and repairing the cause of the warning. Clearing the light without fixing the problem can hide important diagnostic information and may lead to more expensive repairs later.
You should not reset the check engine light if:
- The light is flashing while driving.
- The engine is running rough or misfiring.
- You notice a loss of power or poor acceleration.
- There is excessive smoke or a strong fuel smell.
- You have not scanned the vehicle for diagnostic trouble codes (DTCs).
Safety Tip: If the check engine light is flashing, stop driving as soon as it is safe to do so. A flashing light often indicates a serious engine misfire that can damage the catalytic converter.
Common Causes of the Check Engine Light
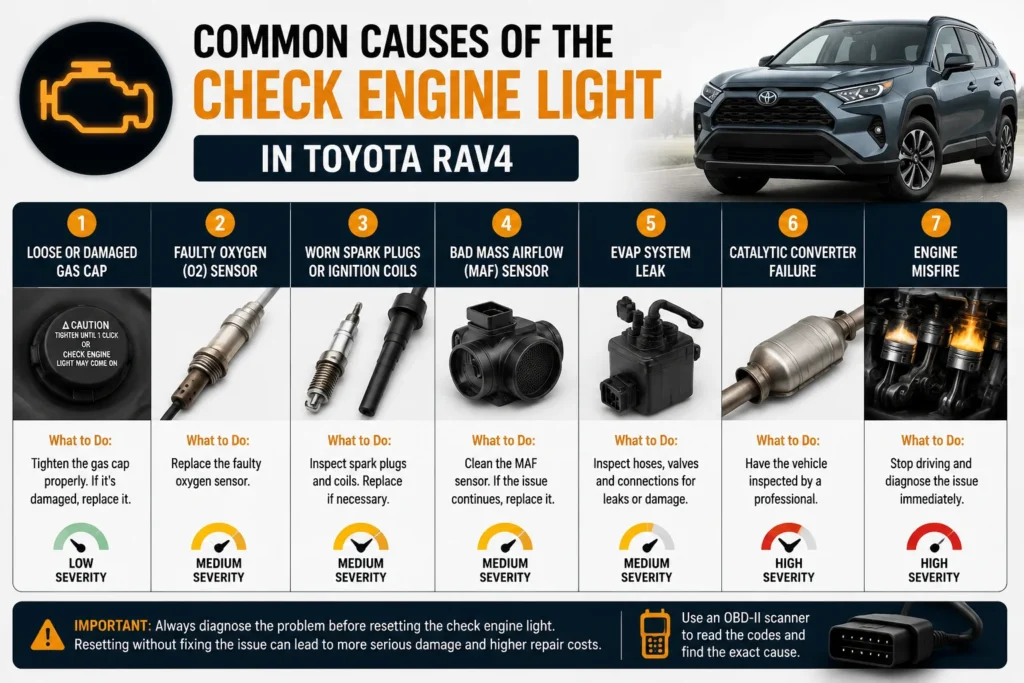
The check engine light can turn on for many different reasons. Some issues are simple to fix, while others require professional diagnosis. Here are the most common causes:
| Cause | Severity | Recommended Action |
|---|---|---|
| Loose or damaged gas cap | Low | Tighten or replace the gas cap |
| Faulty oxygen (O2) sensor | Medium | Replace the sensor |
| Worn spark plugs or ignition coils | Medium | Inspect and replace if needed |
| Bad mass airflow (MAF) sensor | Medium | Clean or replace the sensor |
| EVAP system leak | Medium | Inspect hoses and fuel system |
| Catalytic converter failure | High | Seek professional repair immediately |
| Engine misfire | High | Stop driving and diagnose the problem |
Tip: If you’re unsure what’s causing the warning, scan your RAV4 with an OBD-II scanner before replacing any parts. Reading the diagnostic trouble code (DTC) can save both time and money.
After the Reset: What to Expect
After resetting the check engine light, drive your Toyota RAV4 normally for a few days. If the underlying issue has been fixed, the warning should remain off. However, if the light returns, scan the vehicle for diagnostic trouble codes (DTCs) or have it inspected by a qualified technician to identify the remaining problem.
Conclusion
Resetting the check engine light is only recommended after the underlying issue has been properly diagnosed and repaired. Whether you use an OBD-II scanner, wait for the system to clear the warning automatically, or choose another method, always make sure the fault has been fixed first.
Following the correct Toyota RAV4 Check Engine Light Reset procedure helps clear the warning safely and prevents unnecessary confusion. If the light comes back shortly after the reset, scan the vehicle for diagnostic trouble codes (DTCs) to identify the real cause instead of clearing the warning repeatedly.
With the information in this guide, you can perform a Toyota RAV4 Check Engine Light Reset confidently while protecting your vehicle’s engine and emissions system. Regular maintenance and timely repairs are the best ways to keep your Toyota RAV4 running reliably.
FAQs
How do I perform a Toyota RAV4 Check Engine Light Reset?
You can perform a Toyota RAV4 Check Engine Light Reset using an OBD-II scanner after repairing the problem. In some cases, the light may also turn off automatically after several normal driving cycles.
Can I reset the check engine light without a scanner?
Yes. Some drivers disconnect the negative battery terminal for 10–15 minutes. However, this method may erase saved settings and is less reliable than using an OBD-II scanner.
Why does the check engine light come back after a reset?
If the warning returns, the underlying issue has not been fixed or a new fault has been detected. Scan the vehicle for diagnostic trouble codes (DTCs) to identify the exact cause.
Is it safe to drive with the check engine light on?
If the light is steady and the vehicle is driving normally, you can usually drive for a short distance while scheduling a diagnosis. If the light is flashing, stop driving as soon as it is safe to do so.
Will disconnecting the battery reset the check engine light?
Disconnecting the battery may clear the warning temporarily, but it does not repair the underlying problem. The light will likely return if the fault still exists.
How long does it take for the check engine light to reset?
After repairs, the light may turn off immediately with an OBD-II scanner or after several normal driving cycles, depending on the type of fault and your Toyota RAV4 model.
Does a loose gas cap trigger the check engine light?
Yes. A loose, damaged, or improperly tightened gas cap is one of the most common reasons for the check engine light to illuminate.
Should I perform a Toyota RAV4 Check Engine Light Reset before fixing the problem?
No. A Toyota RAV4 Check Engine Light Reset should only be performed after diagnosing and repairing the actual issue. Resetting the light without fixing the fault may cause it to return.